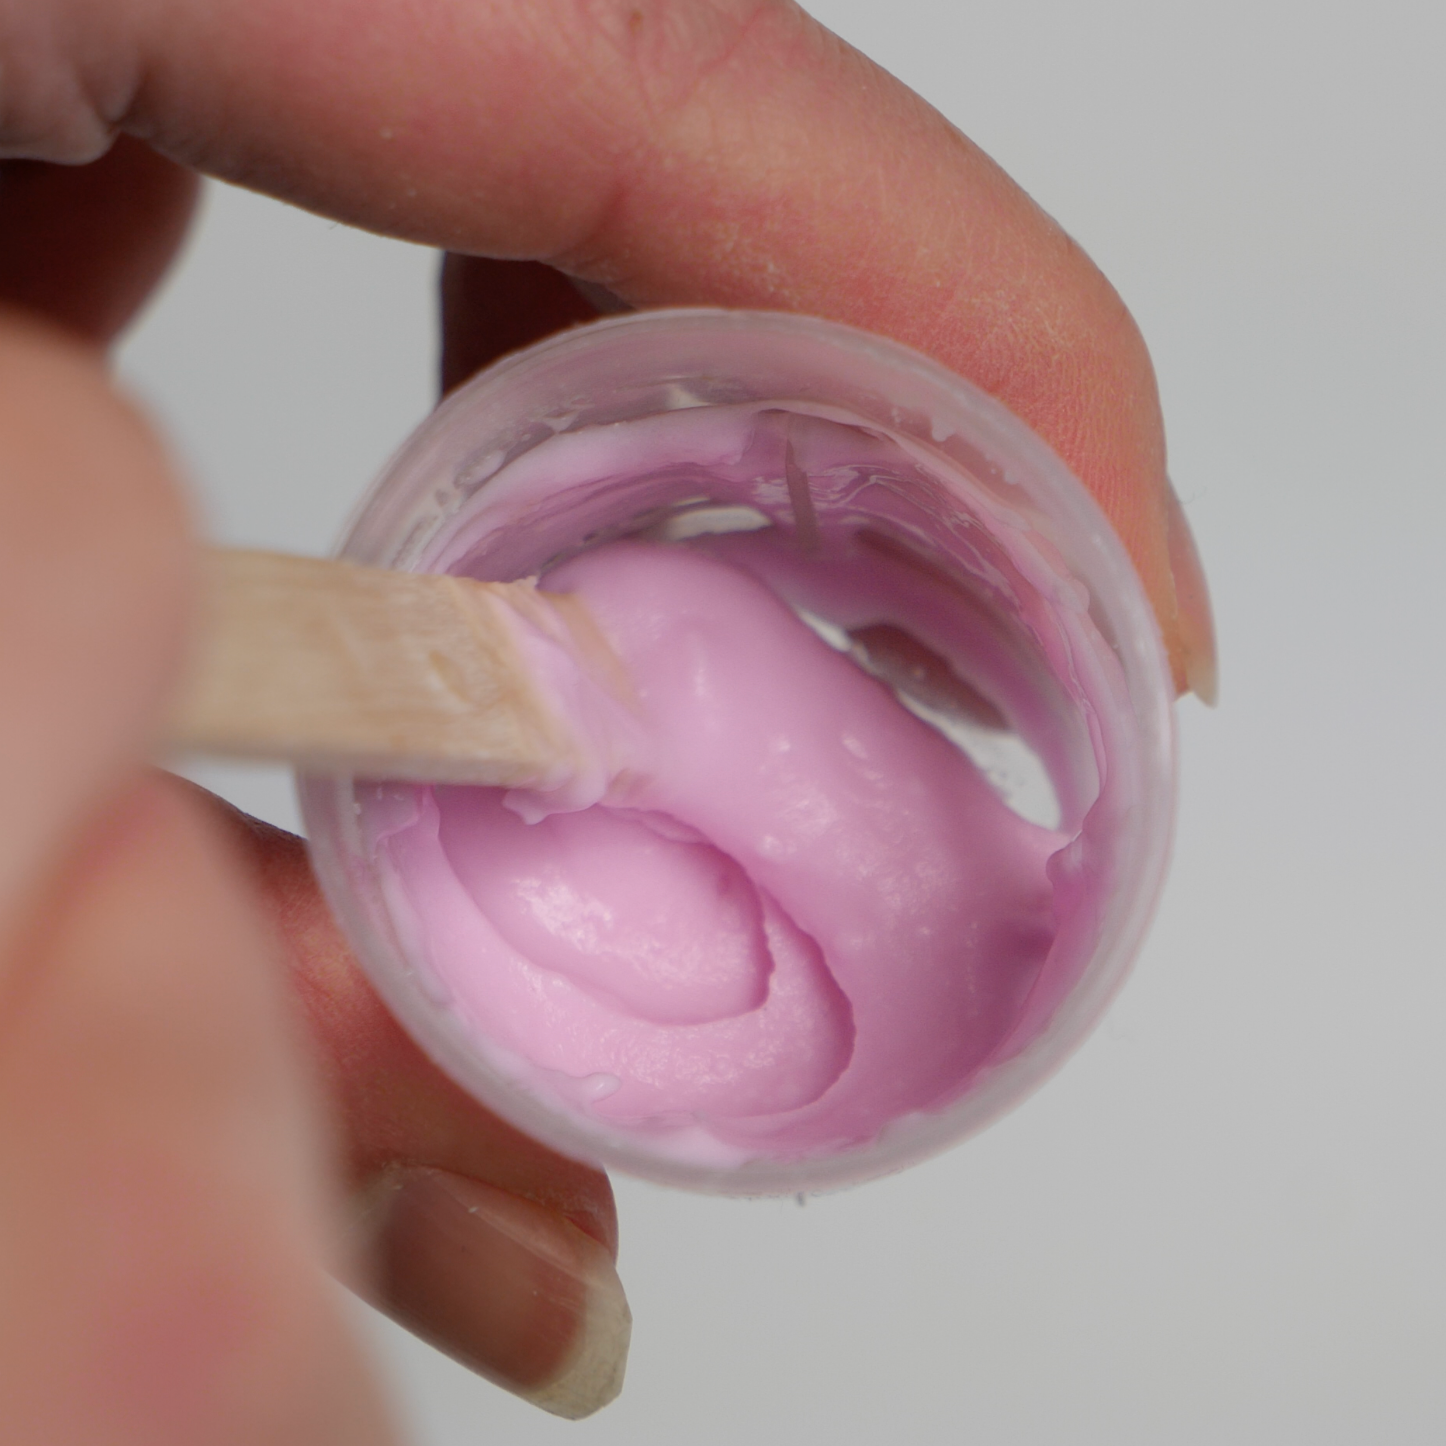
Step 1: Prepare the Alginate Mixture
- Add a few scoops of alginate powder to one of the provided measuring cups.
- Using the pipette, slowly add water while stirring until the mixture has a gooey, gelatinous texture.
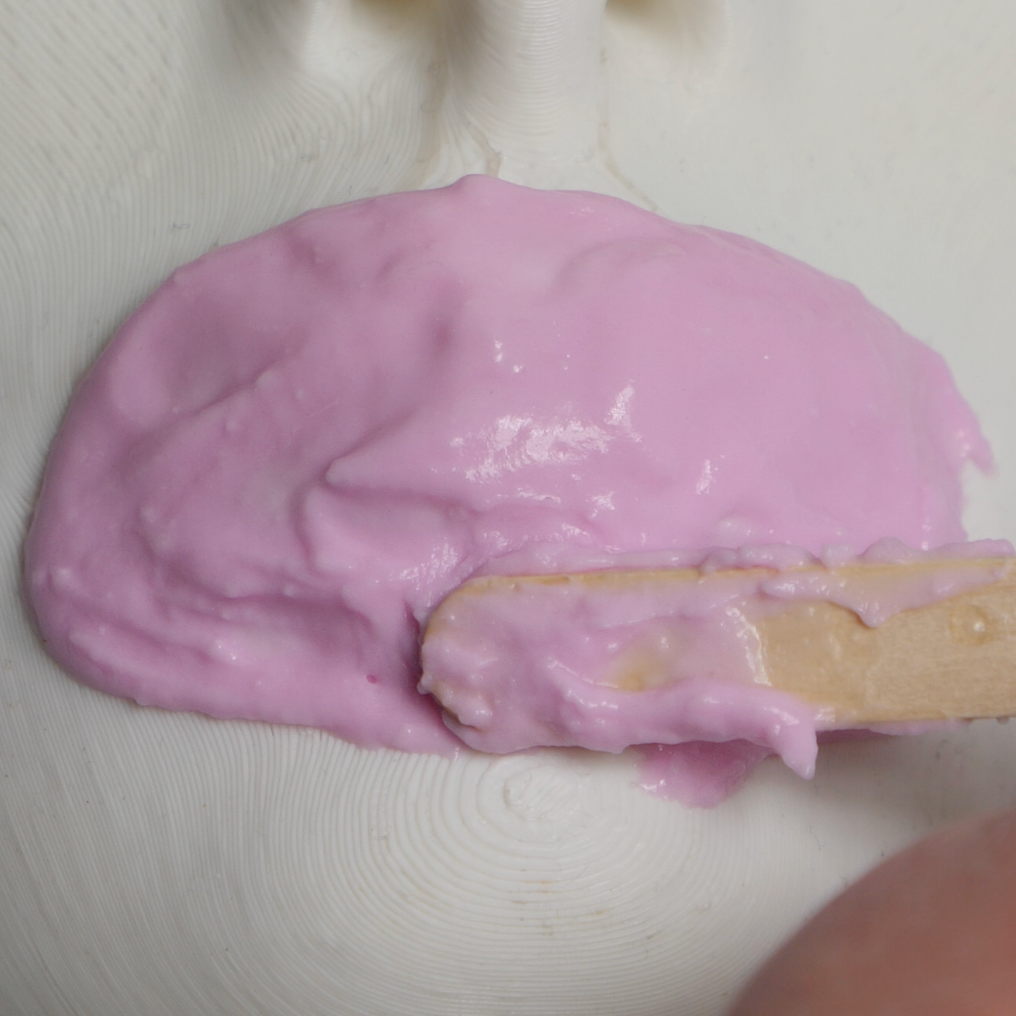
Step 2: Apply the Alginate
- Once the mixture reaches the desired consistency, apply it to your mouth area.
- Keep your mouth closed and ensure the alginate covers the area completely.
Step 3: Allow to Cure
- Wait for the alginate to cure, which typically takes about 5 minutes.
- Sit or lie down during this time to avoid tearing or distorting the alginate.
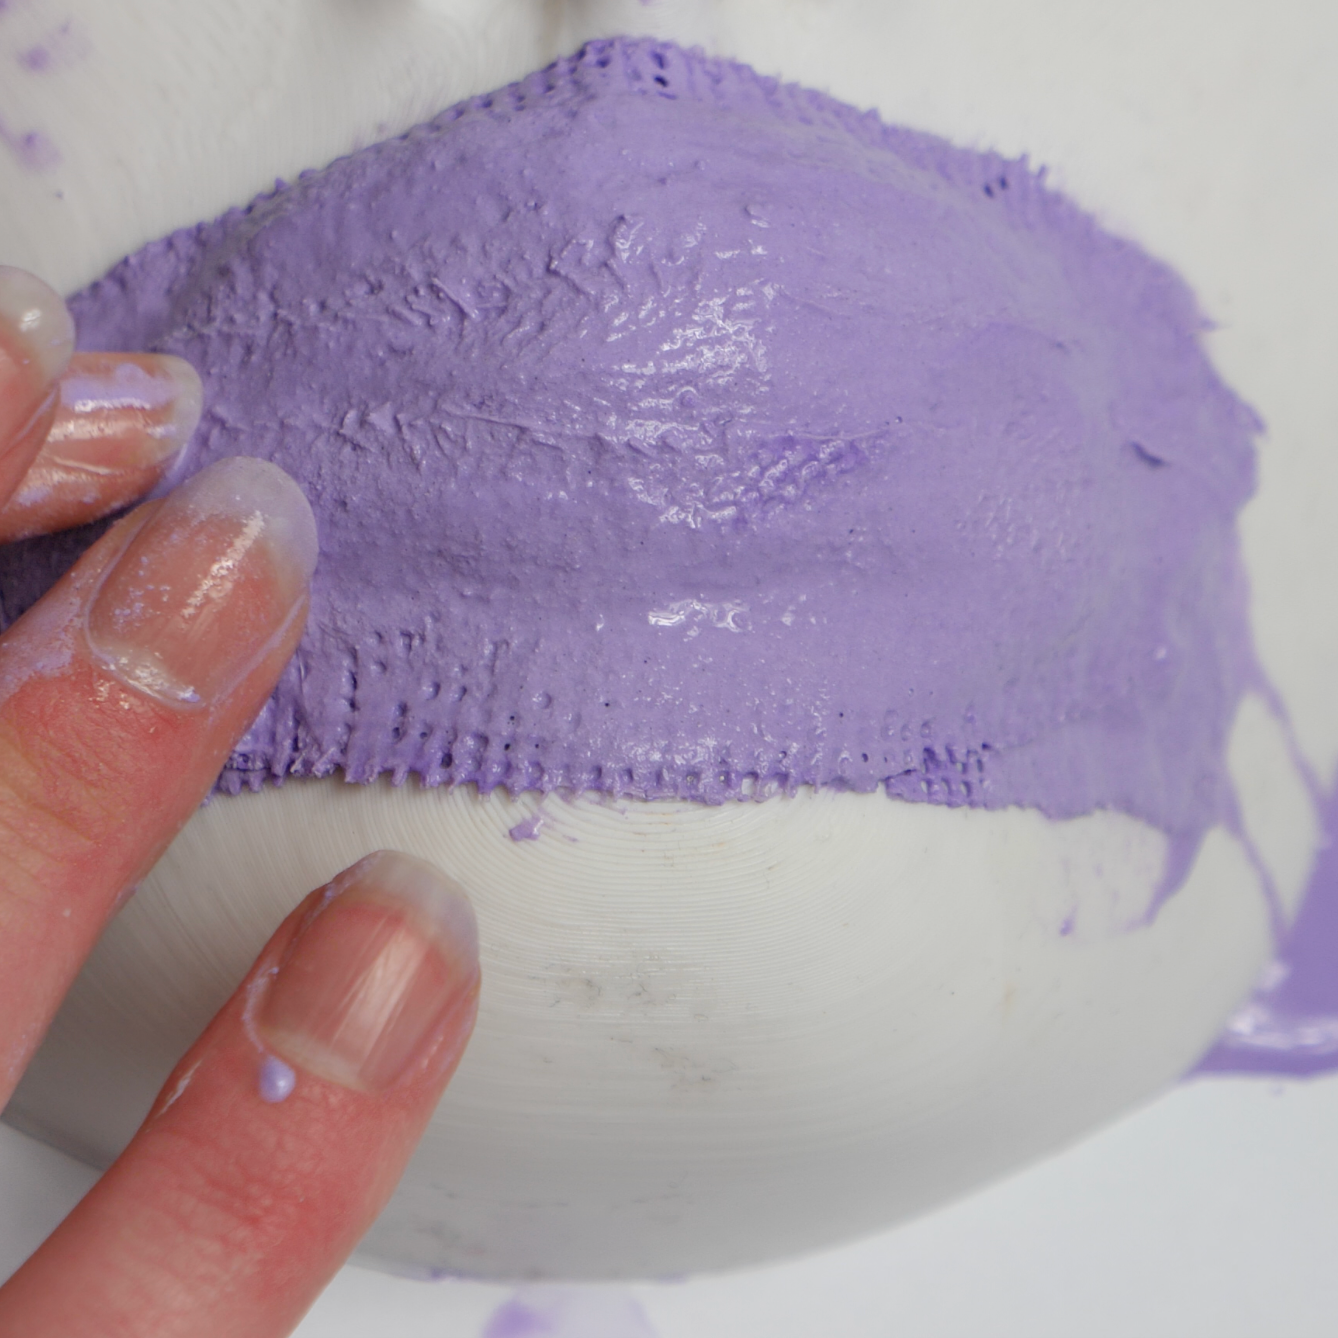
Step 4: Apply Plaster Strips for Support
- Dip plaster strips in water and lay them over the cured alginate, ensuring complete coverage.
- Allow the plaster strips to harden. This may take around 10-15 minutes. Stay seated or reclined to prevent damage.
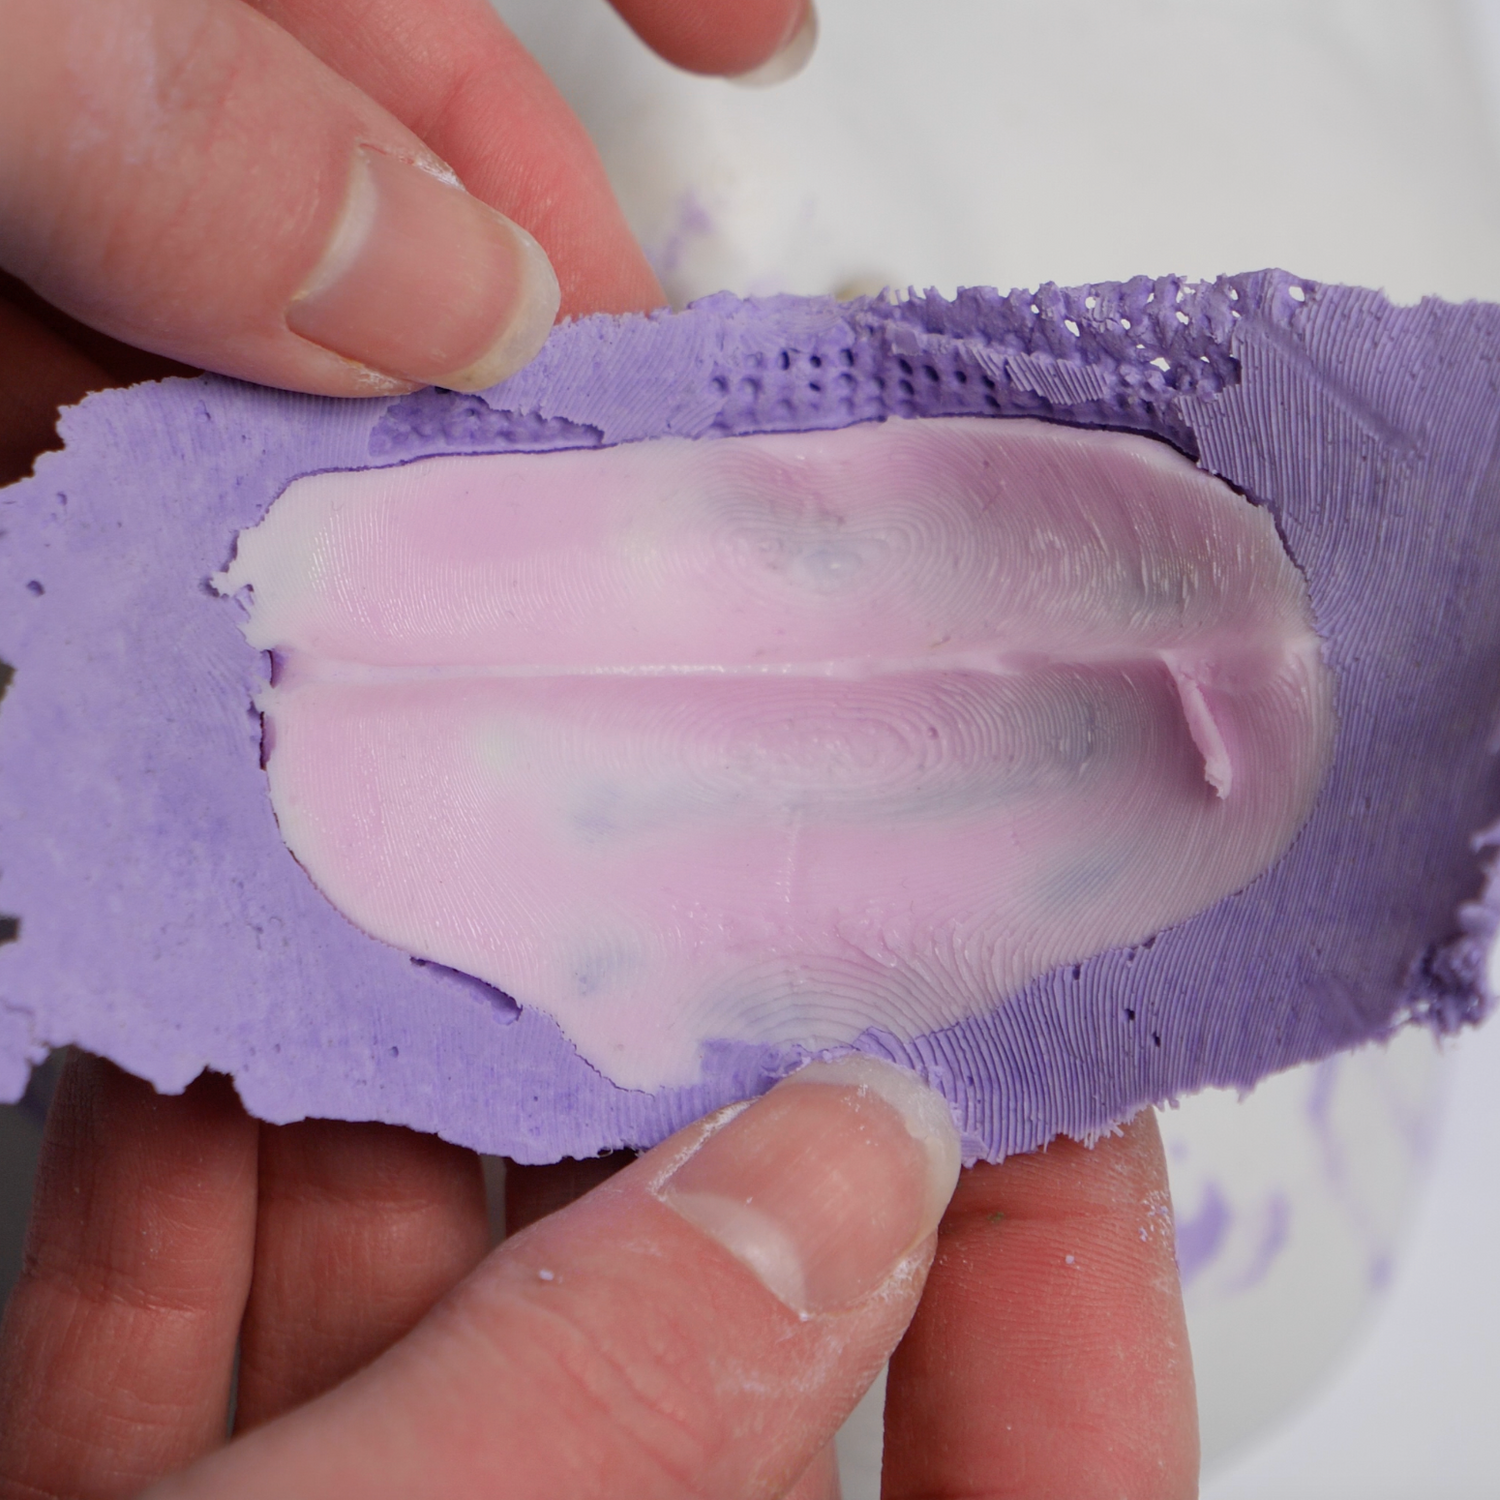
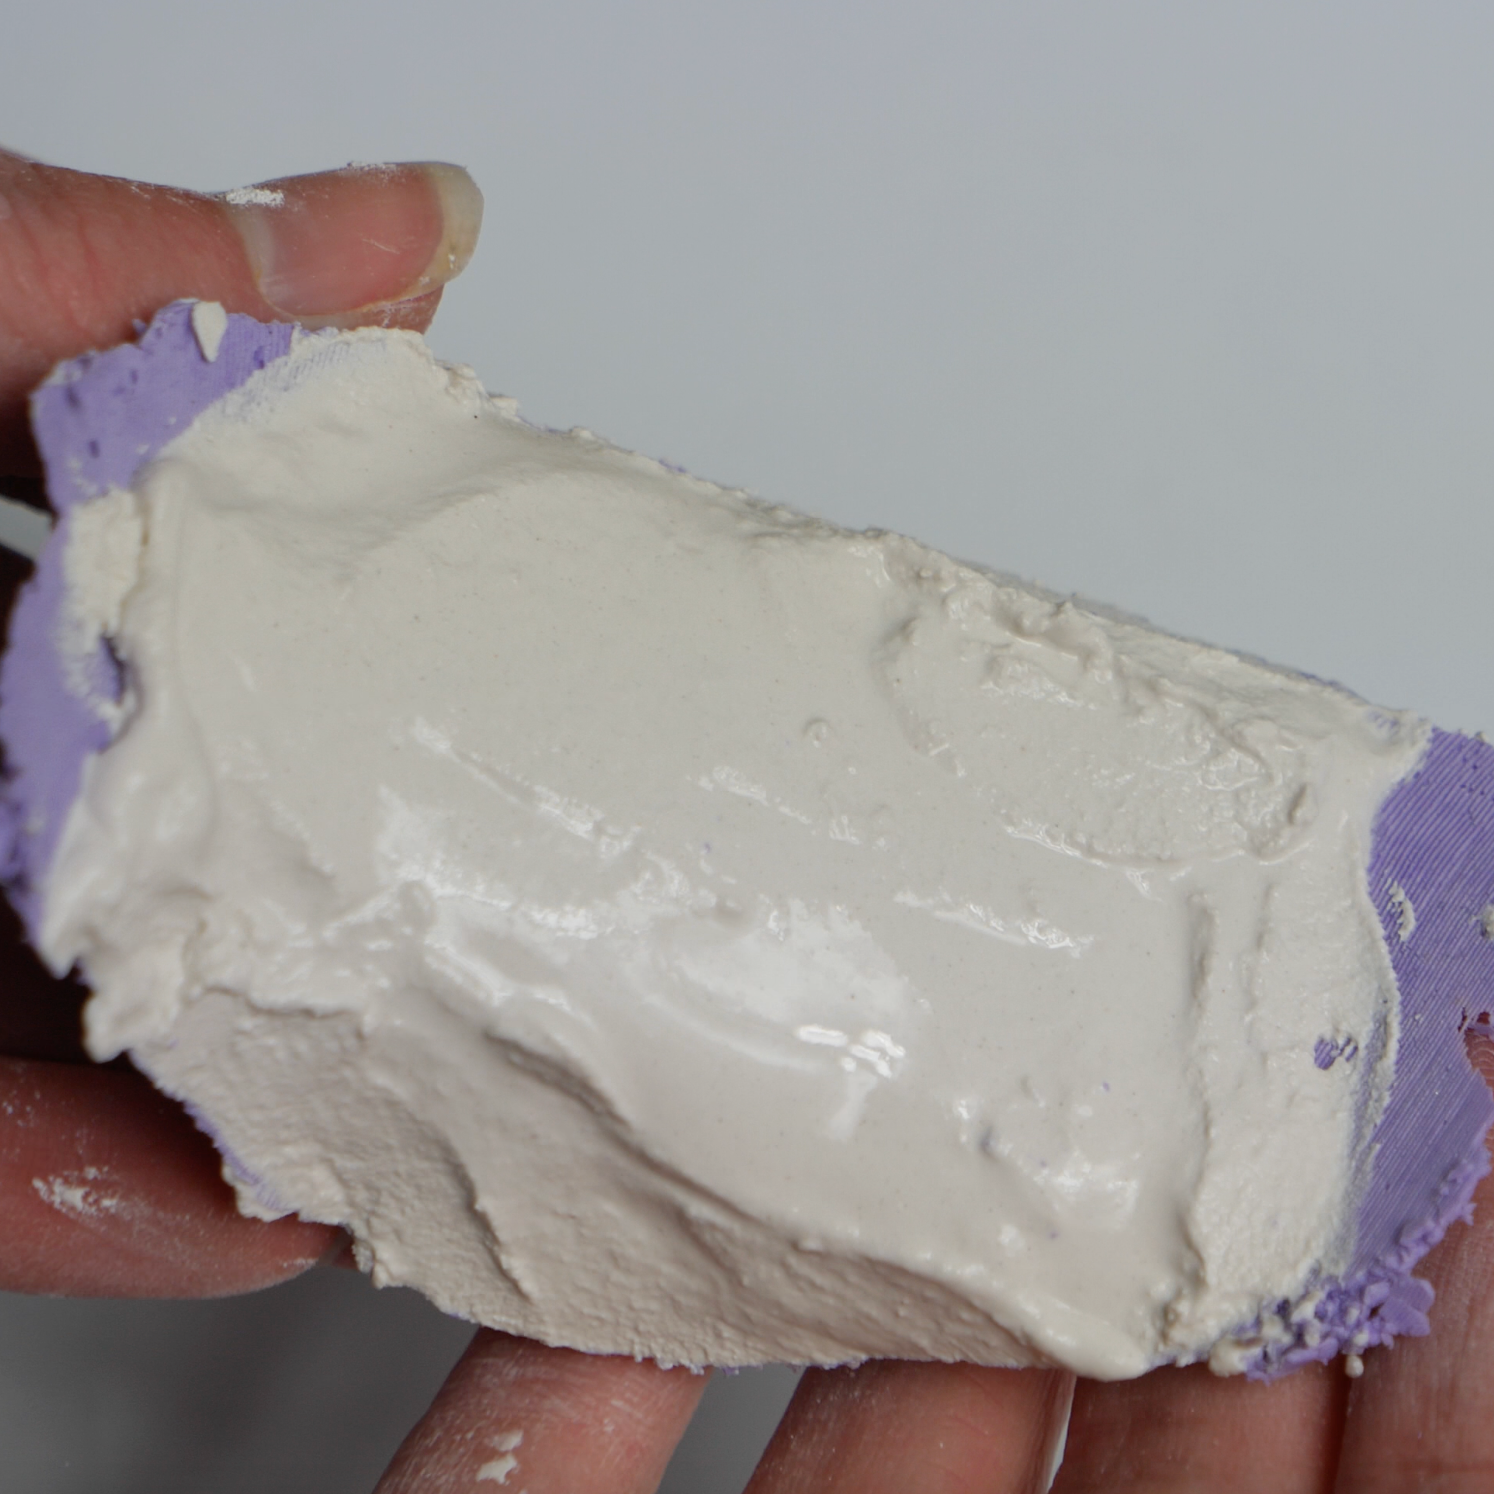
Step 5: Remove the Negative Mold
- Once the plaster strips have hardened, gently peel both the alginate and plaster away from your face.
You now have a negative mold of your mouth.
Step 6: Create the Positive Mold
- Mix casting plaster with water until it reaches a thick, smooth consistency.
- Carefully pour the plaster mixture into the negative mold, ensuring all areas are filled.
- Repeat the process until the mold is fully filled and level.
Step 7: Allow the Plaster to Harden
Let the plaster set for a minimum of 2 hours. For best results, leave it overnight.
Step 8: Reveal the Positive Mold
- Once the plaster has hardened, carefully peel away the plaster strips and alginate.
You now have a positive mold of your mouth.
TIP: Smooth out any rough areas on the positive mold using fine sandpaper for a clean finish. This ensures better results when creating the silicone lips.
Your positive mold will be used in conjunction with the plastic negative mold included in your kit to create the silicone lips. These molds are reusable, so keep them safe for future use!
Creating Your Silicone Stick-On Lip Fillers
Step 1: Measure the Silicone Components
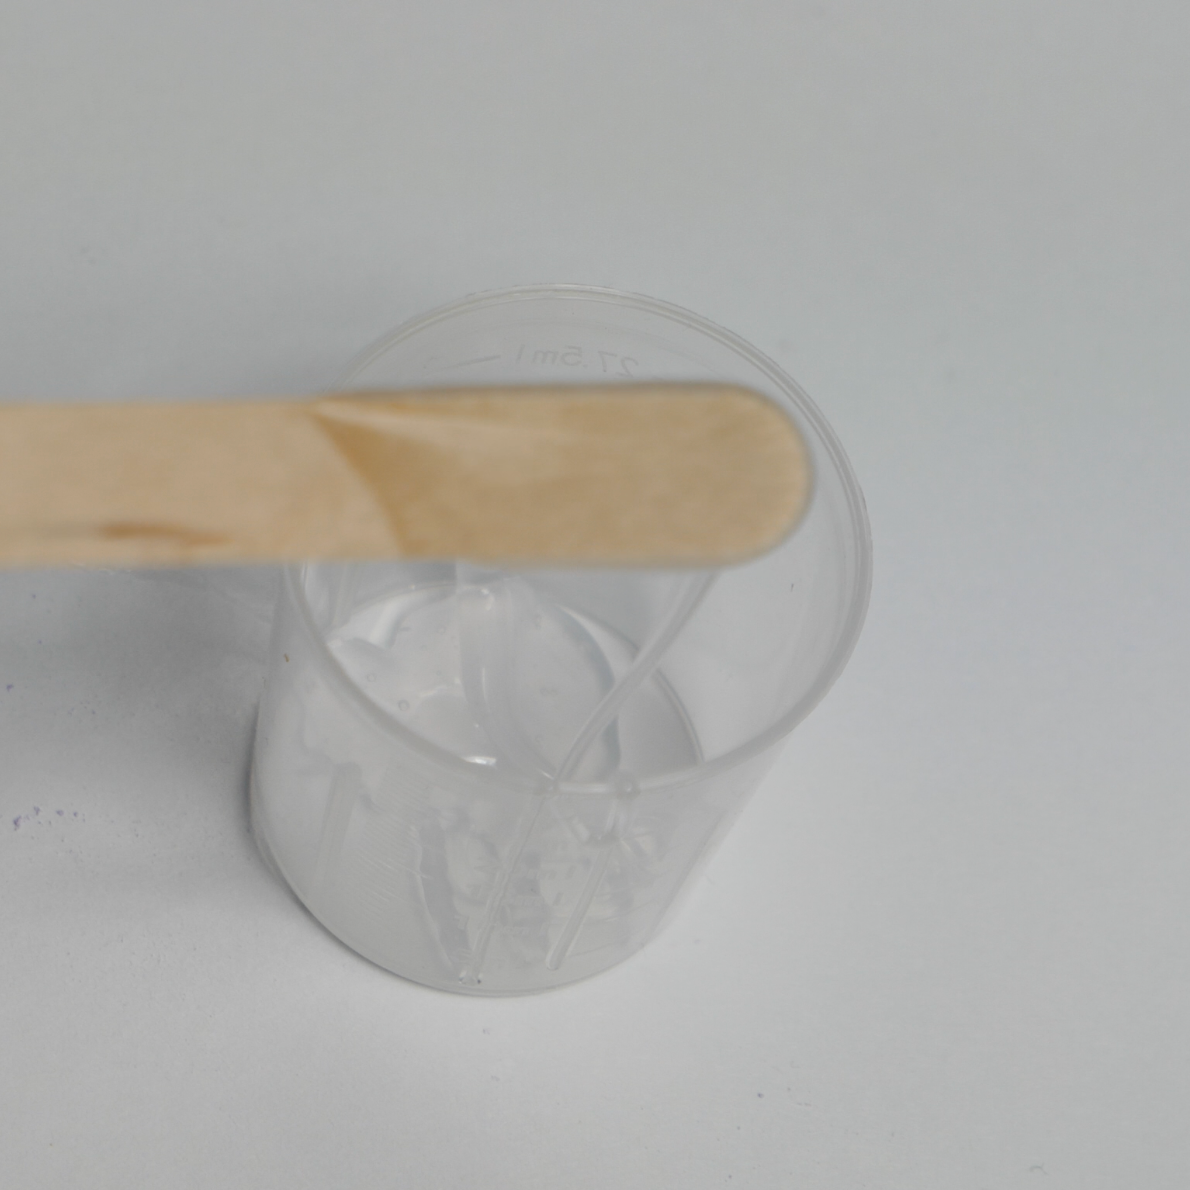
Using the measuring cup, combine 10ml of Silicone A and 10ml of Silicone B, for a total of 20ml.
Step 2: Add the Deadener
Add 5ml of Deadener to the mixture, bringing the total to 25ml.

Step 3: Add Colorant
- Add your chosen colorant.
- For liquid colorant: Use a single drop.
- For shimmer powder: Add a small amount.
- Avoid overdoing it to maintain a realistic look.
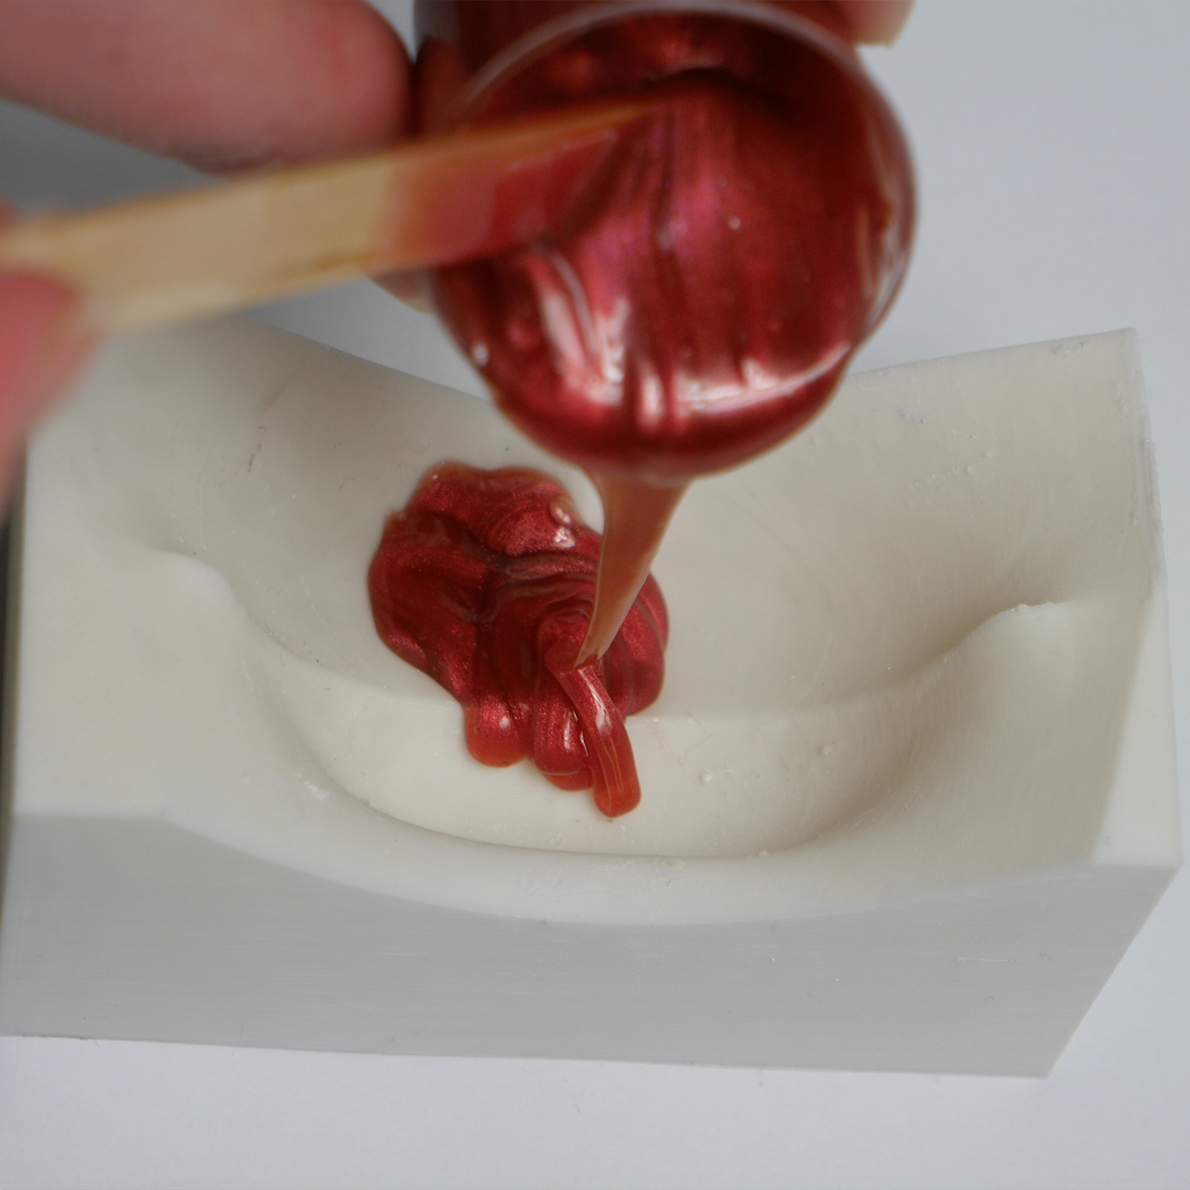
Step 4: Pour the Silicone
- Pour the silicone into the plastic negative mold.
- Press the positive mold into place on the other side, aligning it carefully.
Step 5: Secure the Mold
- Use the provided elastic band to hold the molds together firmly
- Wait for the silicone to cure. This typically takes 40-60 minutes, but curing may take longer in cooler conditions.
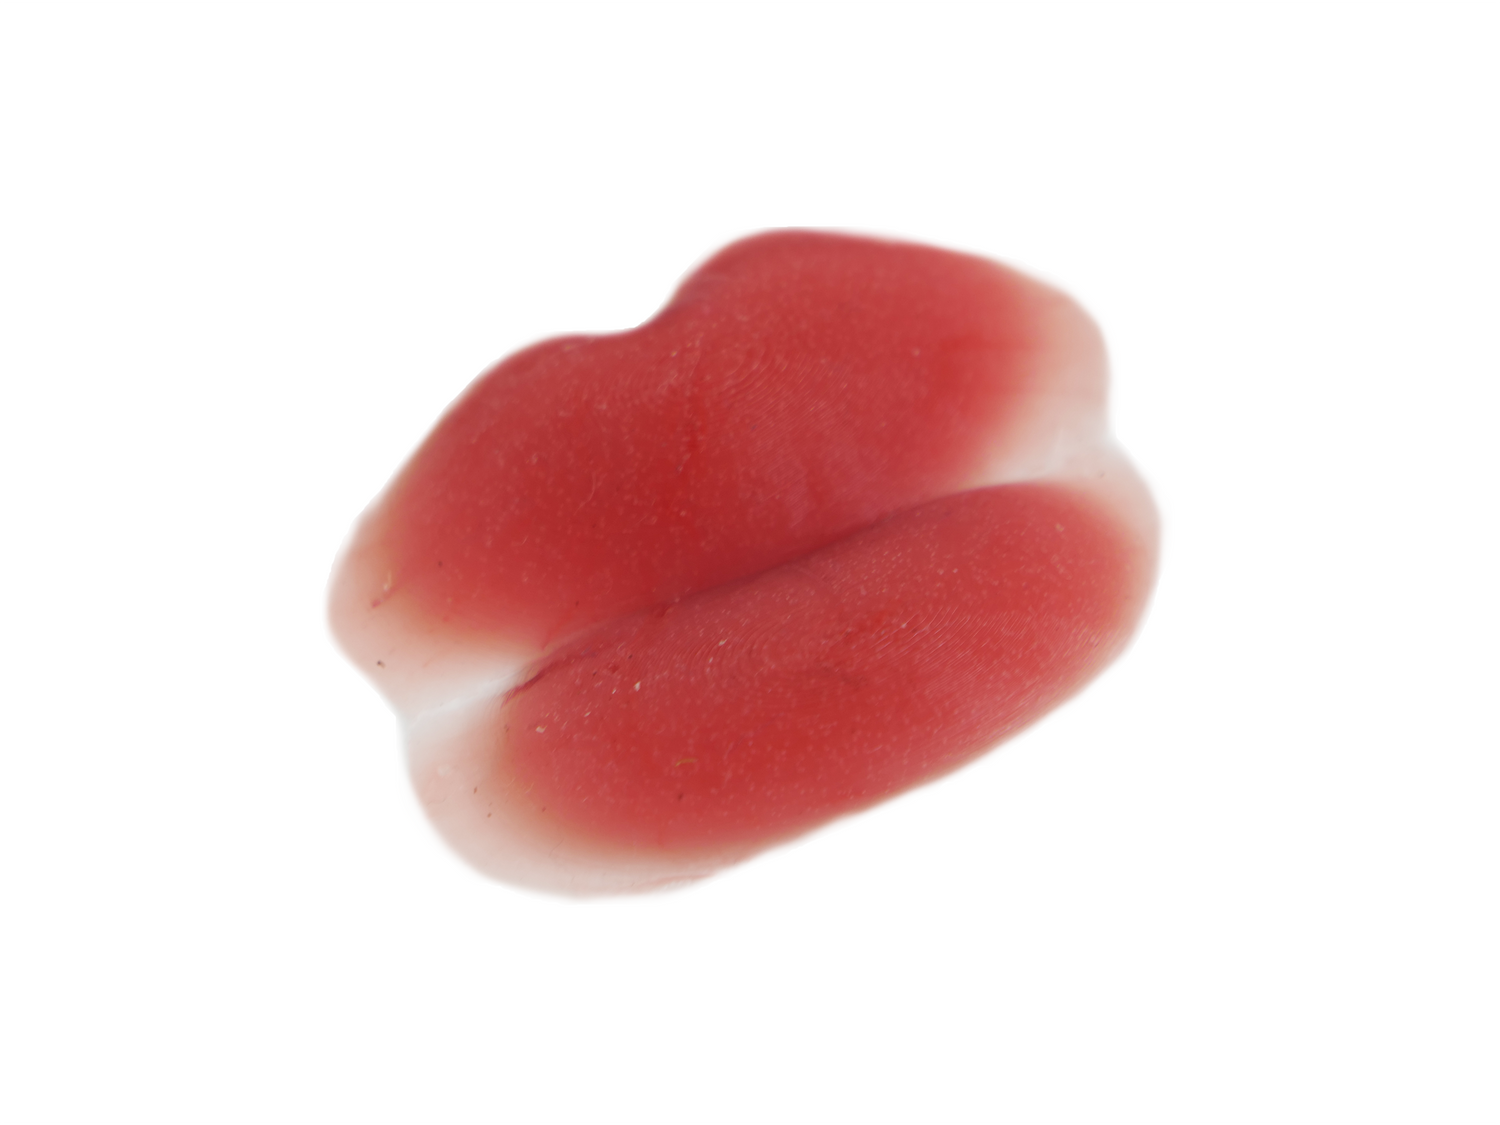
Step 6: Reveal Your Lip Fillers
Once the silicone has fully set, gently separate the molds to reveal your finished stick-on lip fillers!
For detailed instructions on how to apply them or tips on using other prosthetic products, visit our application page below!

