
HOW TO APPLY
WHAT YOU WILL NEED...
- Pros-aid, spirit gum or silicone adhesive
- Application Sticks or Cotton Buds
STEP 1: PREP
Remove prosthetics from packaging and decide where you would like to apply the product.
If you want to be precise on where to apply, you can powder an outline using a small brush (or you could also use a white or nude eyeliner if you prefer)
TIP: If you have any hair on the application area that you don’t want to remove, you can flatten the hair using Gafquat or Vaseline prior to applying adhesive.
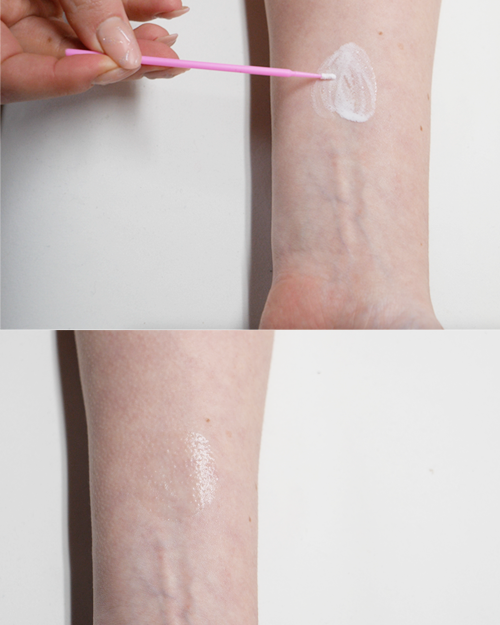
STEP 2: ADHESIVE
Using an Applicator Stick, apply the Pros-Aid to the area you would like to apply and leave to become tacky.
You will know when it becomes tacky because it will become clear, you can always tap it with your finger to check.
TIP: You can also apply to the back of the prosthetic to ensure a strong application
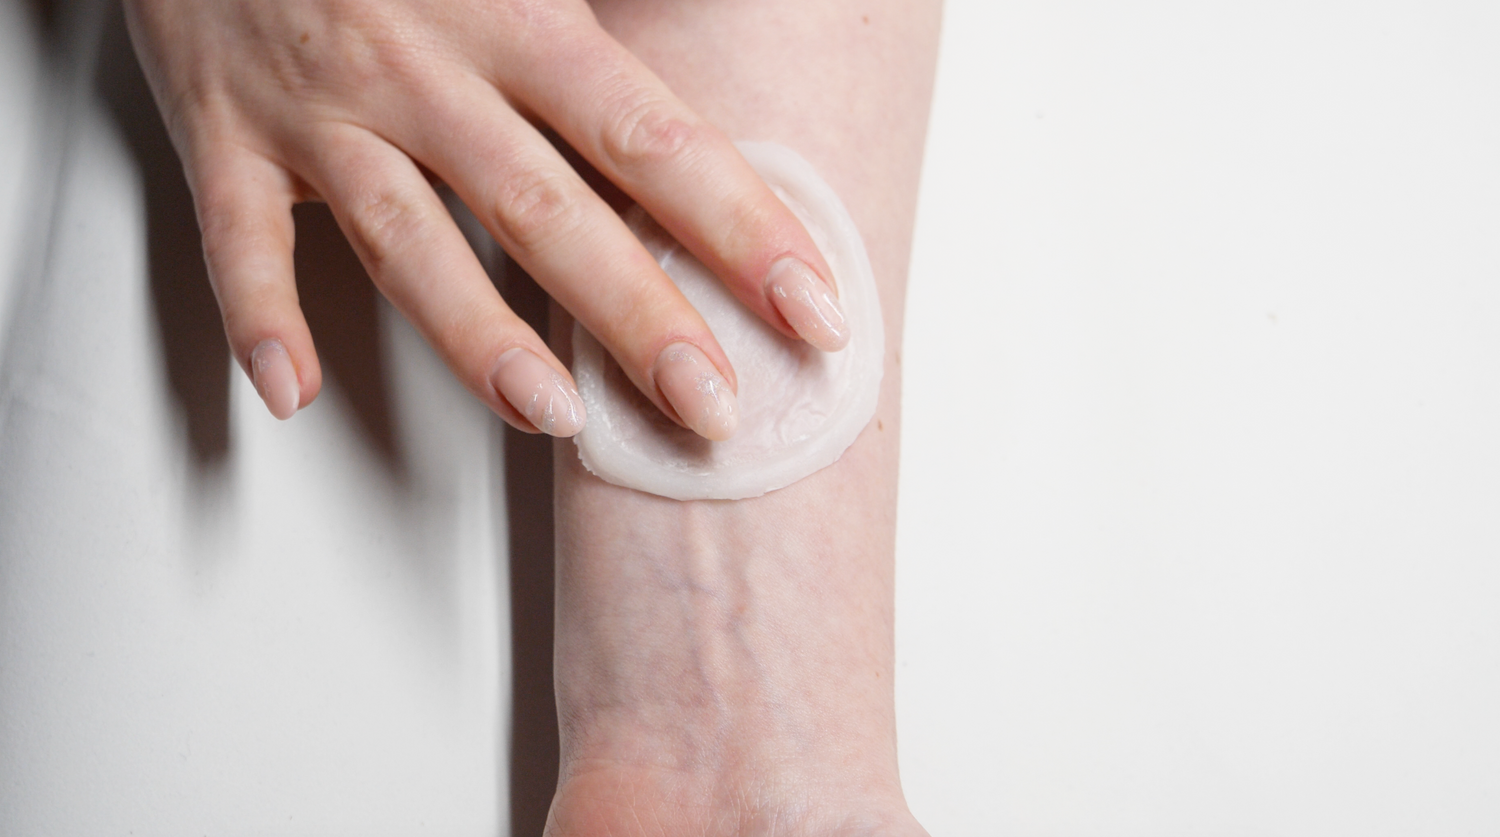
STEP 3: APPLICATION
Take your prosthetic and press gently onto the tacky skin, starting from the centre and pressing outwards.
TIP: Work in small sections pressing the prosthetic down, although it will take longer, it will ensure a more flawless finish to your application
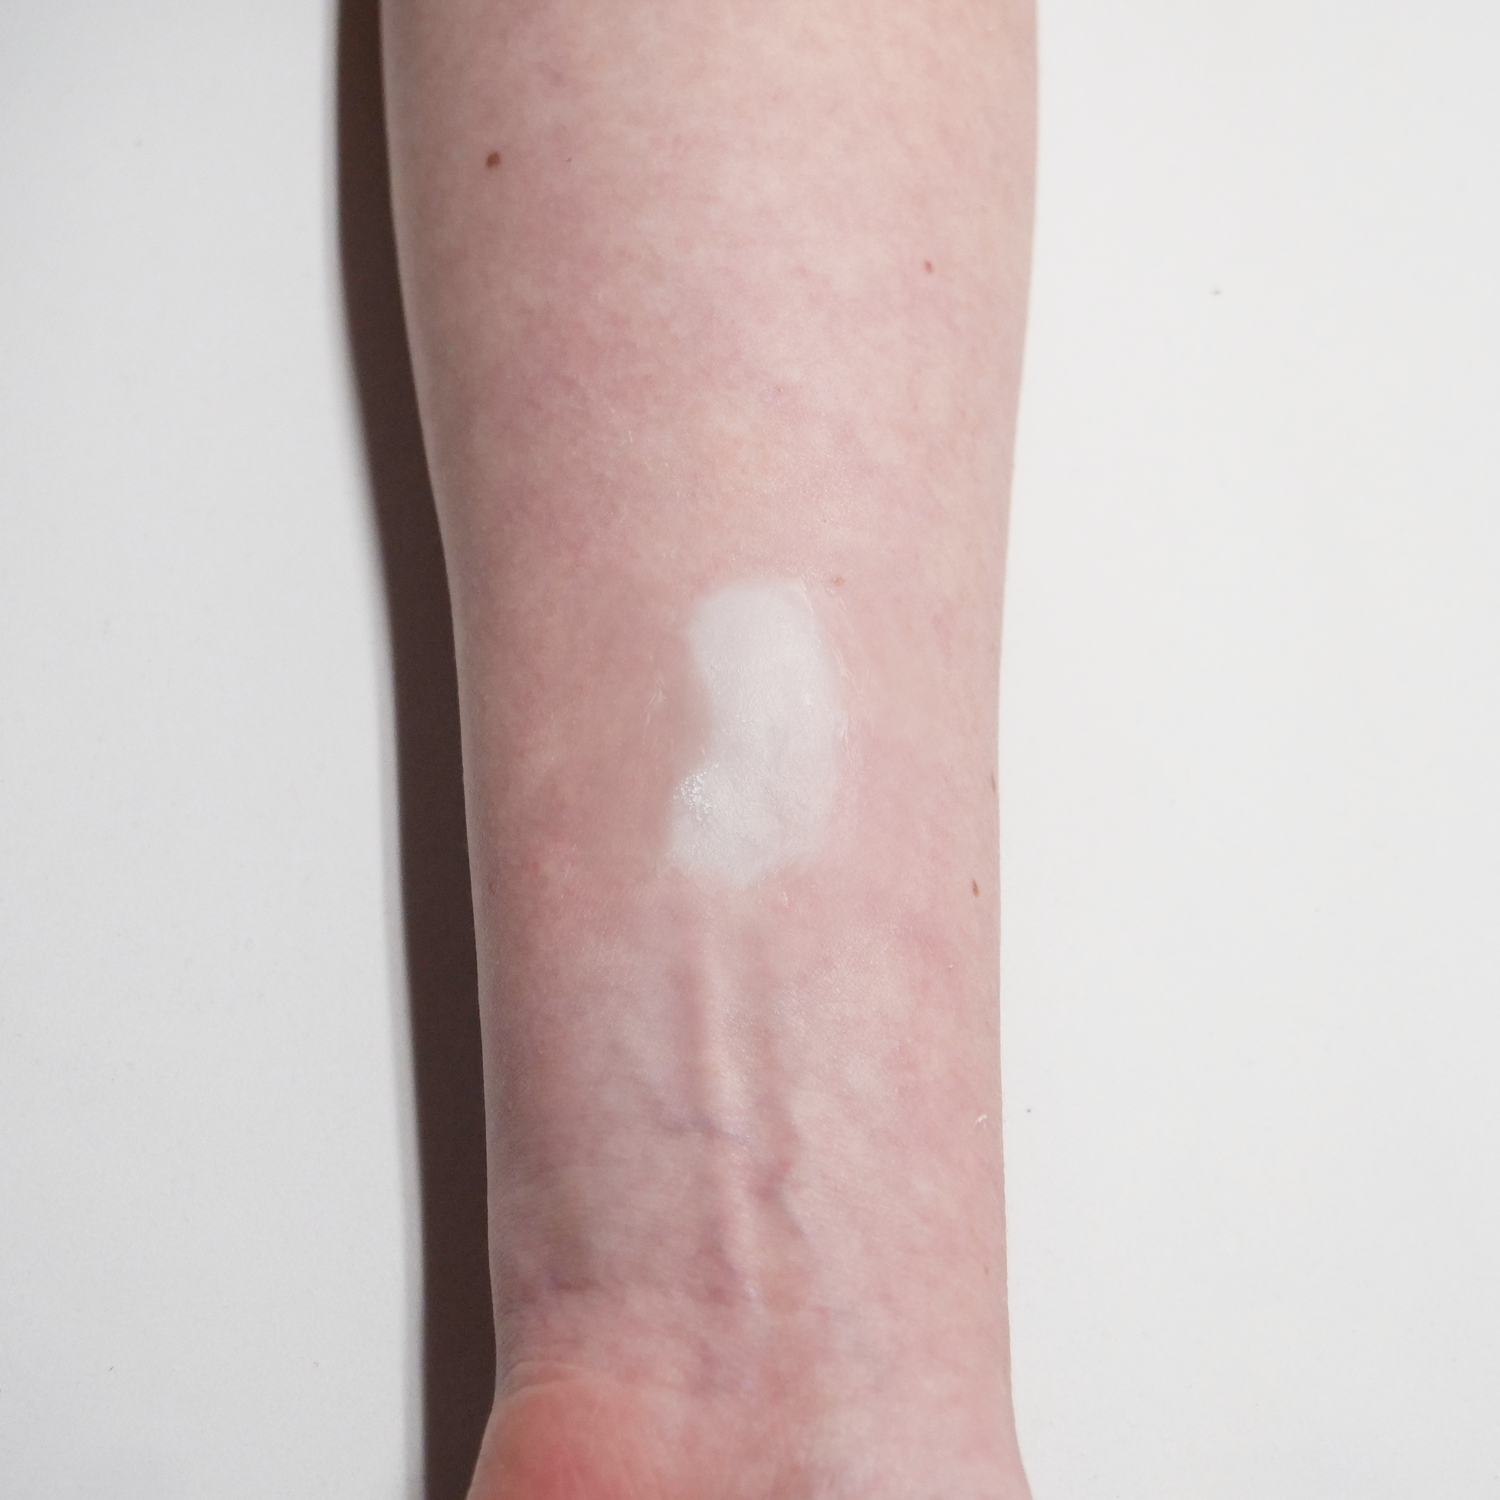
STEP 4: FINAL TOUCHES
Once applied, you can powder the surrounding skin.
You can also apply makeup over the prosthetic to finish up your look!
And that's it!
You have now applied your prosthetic! Enjoy!
If you would like a guide on how to remove, check out our removal process... just click the button below