
NECROVIRAL TUTORIAL
log ref: #SFX-NECROVIRAL_Δ07
specimen class: animated necrosis replication
notes: high gore index, multi-layered tissue breakdown, portable deployment
The zombie specimen has always been the DRF’s most requested field illusion.
People don’t just want to see decay, they want to believe it, if only for the split-second before they laugh or run.
Today, we’re opening the kit.
PLEASE NOTE: isopropyl alcohol is not supplied, due to shipping restrictions.
STAGE ONE: ENCAPSULATED SILICONE PROSTHETICS
Position & Mark
Hold the prosthetic in place, check angles in the mirror, cut off flashing ring if possible. Remember: zombies attack erratically. Symmetry is suspicious. We chose to apply on the cheek membrane.
Adhesive Layer
Using the provided adhesive, paint a thin layer on both the skin and the back of the prosthetic. Wait a few minutes to allow it to become tacky.
Placement
Press the piece down from center to edge, eliminating air pockets.
Edge Dissolution
Dip a brush in IPA and stroke outward over the cap plastic edges. The membrane will melt into skin, leaving no hard line. This is where realism breaches the threshold.
Repeat
Do steps 1 to 4 for rest of prosthetics.
+ Media Archive & Documentation
▶ Position & Mark Image 1
▶ Position & Mark Image 2
▶ Adhesive Layer Image 1
▶ Adhesive Layer Image 2
▶ Placement Image
▶ Edge Dissolution Image
×

×

×

×

×

×

STAGE TWO: 3D GEL TEXTURE
Melt
Method: Microwave. Warm in a microwavable bowl at 300 degrees for 30 seconds. Do not boil unless you want it to smell like cafeteria custard gone wrong.
Apply
Check temperature to ensure it’s cool enough to apply to the skin, Using a spatula or craft stick, drip or dab the gel around wounds, blending onto skin. Creates torn flesh ridges, or necrotic bubbling. Gel cools quickly. Shape before it fully solidifies.
+ Media Archive & Documentation
▶ Melt Image 1
▶ Melt Image 2
▶ Melt Image 2
×

×

×

×
×
×
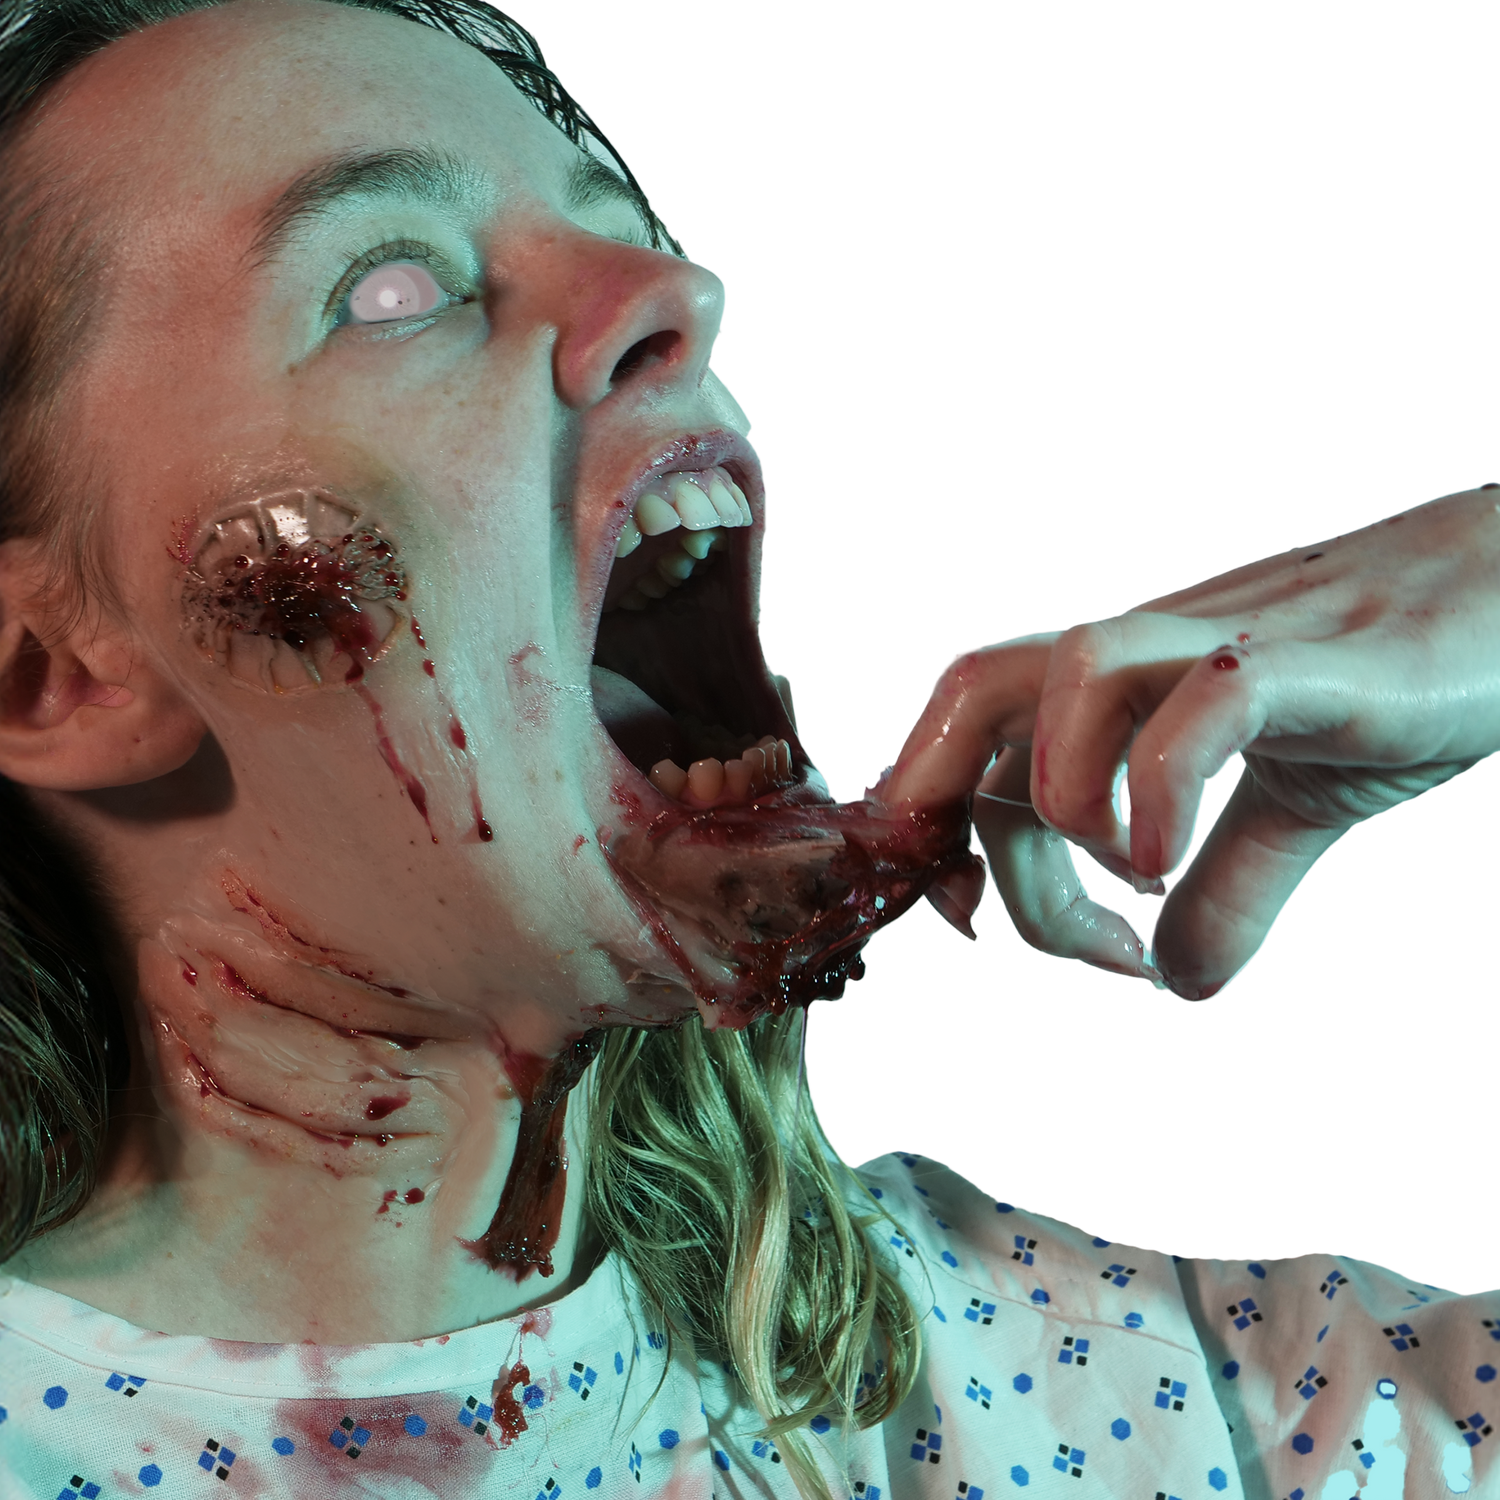
STAGE THREE: BLOOD
Strategic Staining
Zombies rarely bathe. Drop blood in uneven patterns. Avoid uniformity.
Depth Control
Darker blood near wounds, brighter and wetter toward edges for “fresh” bites.
Secondary Splatter
Flick a loaded brush for microdroplets if required.
+ Media Archive & Documentation
▶ Final Result
×

×
×
×
×
×
STAGE FOUR: BONDO TRANSFERS
Peel & Place
Remove transfer backing, position face down on skin.
Water Activate
Press damp sponge onto back until the paper slides away.
Blend & Blood
Add a touch of IPA to soften edges, then integrate with blood.
- Check all edges under good lighting. If anything looks like “applied makeup,” add more blood.
- Add dirt, ash, or grey-toned face paint if you want to increase decay.
Begin containment procedures
- Choosing a selection results in a full page refresh.
- Opens in a new window.